Steven K. Dixon 2018
The following is a narrative of my second mission using the latest playtest rules. The left column is a mix of narrative and rules, while the right column details the rules and has links to pictures.
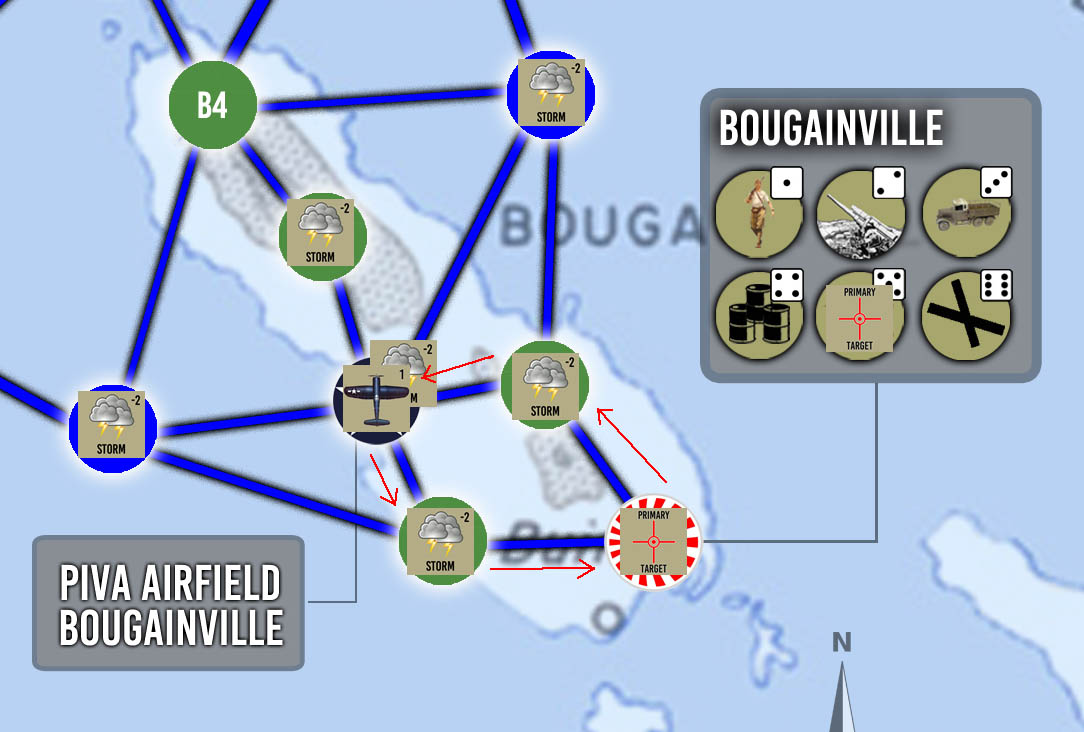
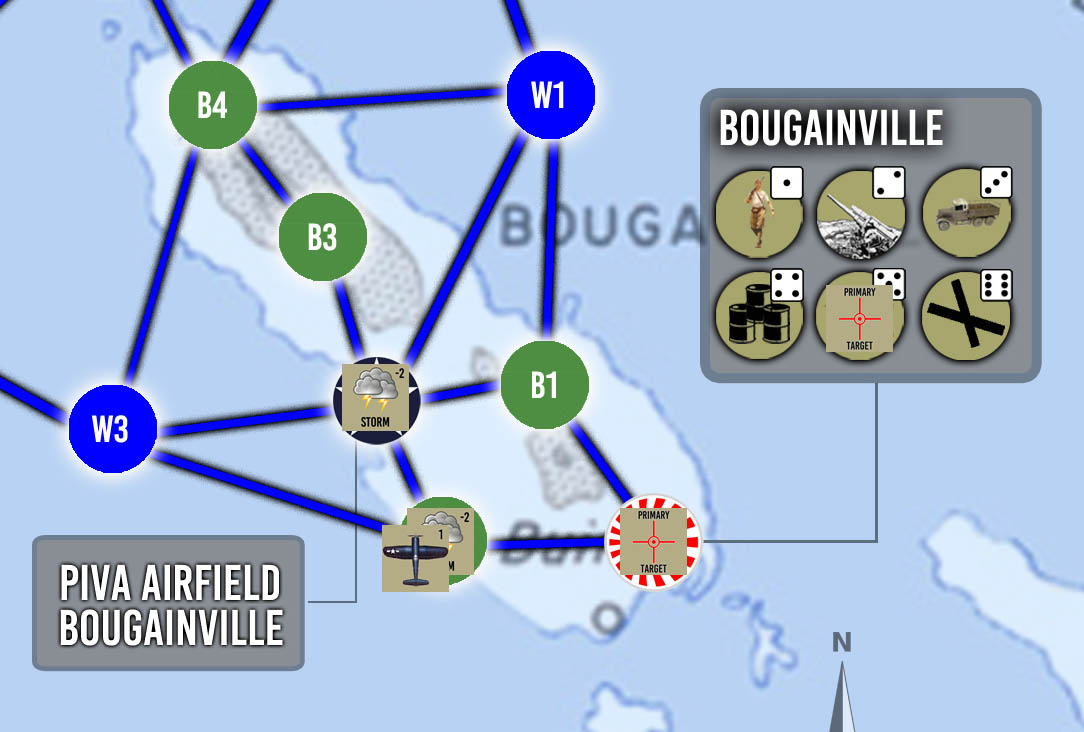
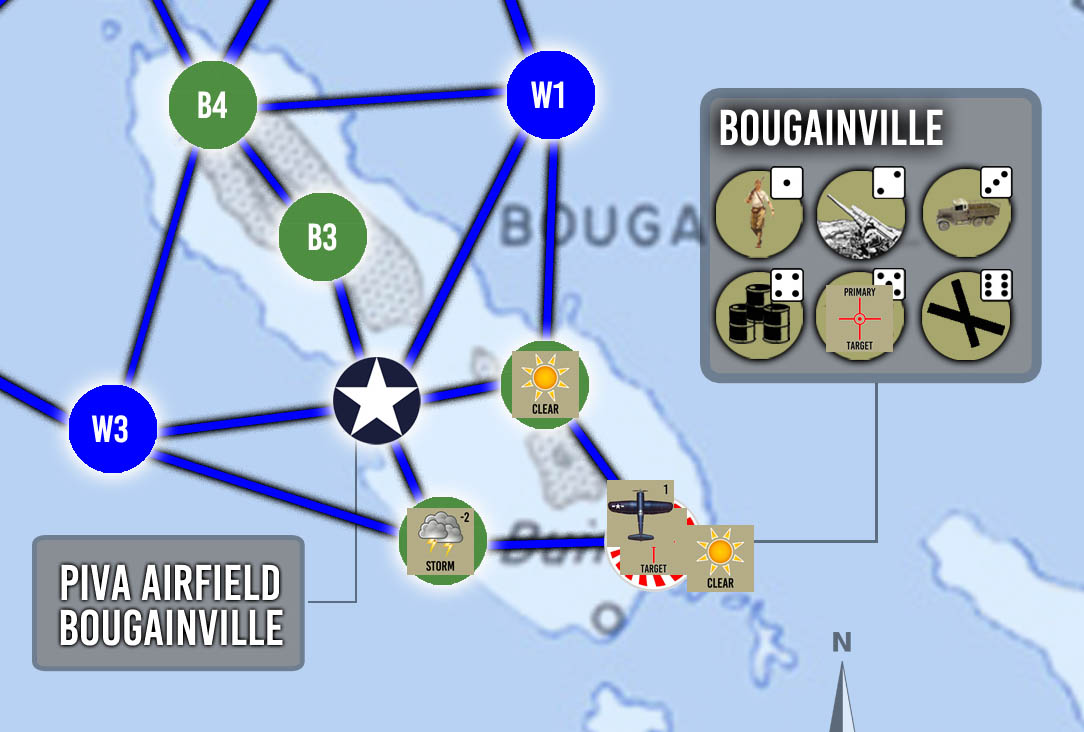
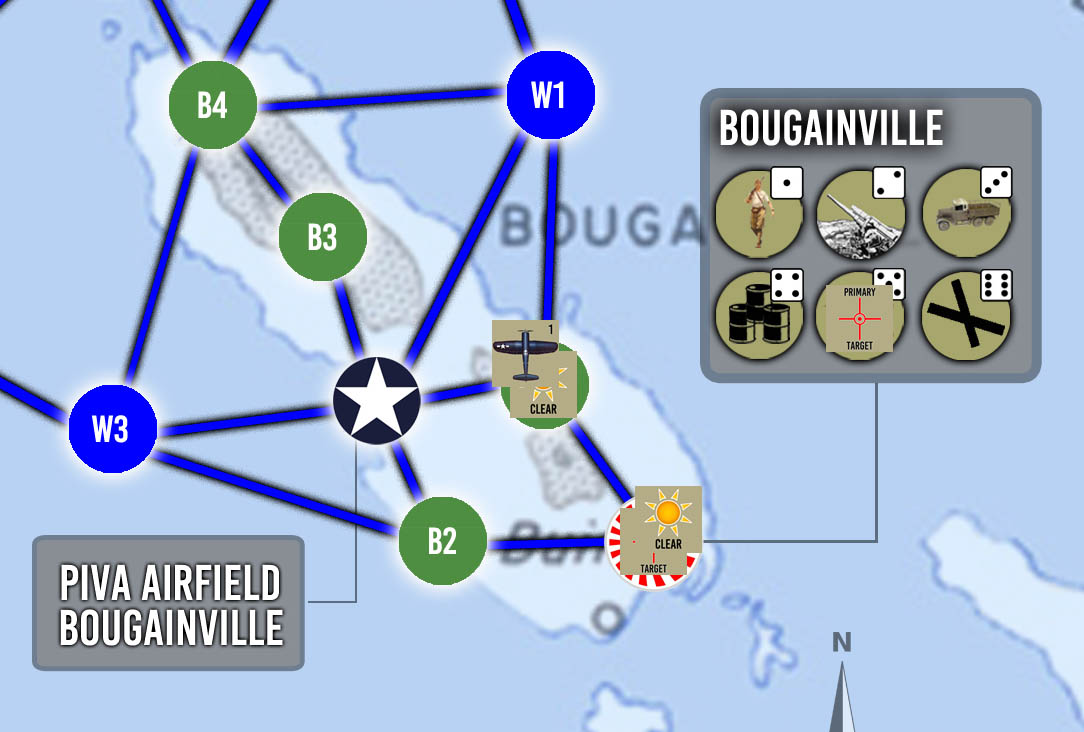
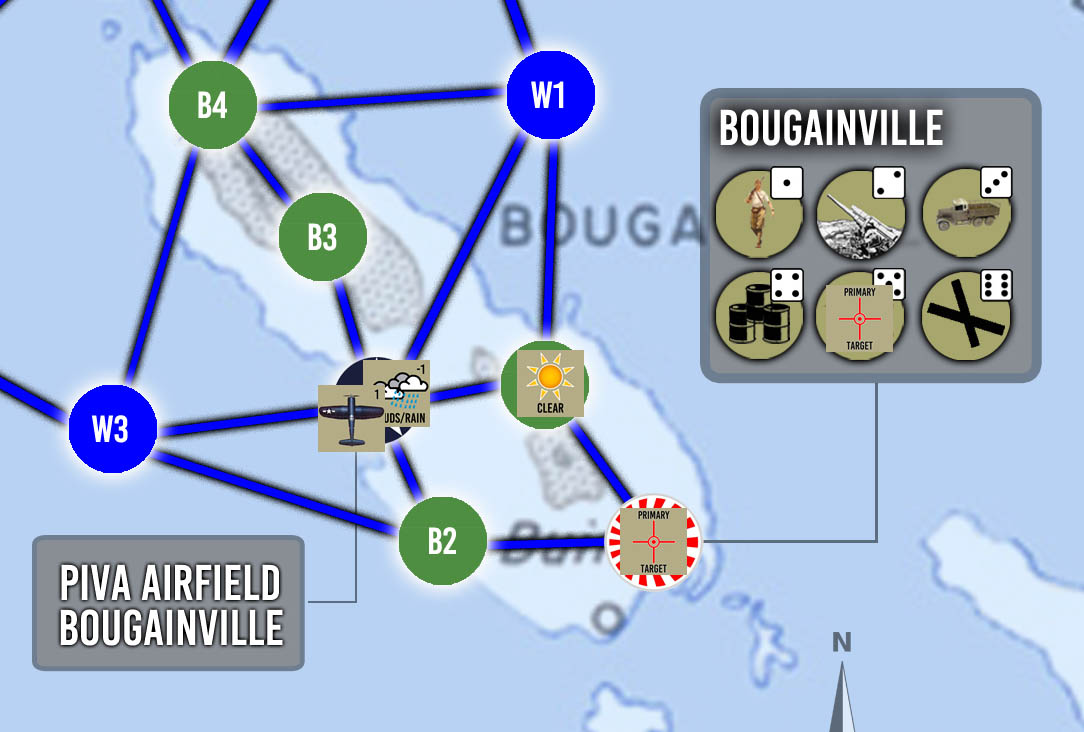
| Mission 2 Following my successful mission to New Britain and a quick bite to eat, I rushed to the ready tent to get the lowdown my second mission. Our intel officer revealed I would be striking the Japanese Naval Headquarters building at Kahili in southeast Bougainville. I place a primary target marker on the hut symbol in the Bougainville box. I also place a primary target marker in the Japanese held zone as a reminder for me. My Corsair is armed with a 1,000 pounder plus the standard compliment of .50s! This will be a short hop compared to my first mission. Since this is a strike mission, searching is not allowed in zones to the target. That leaves me zone B1 to search if I choose to do so after I strike may target. Storms quickly formed prior to the scheduled takeoff time but no mission cancellation. Take off went off without a hitch. (Picture 1 shows the situation prior to take off. Red arrows have been added to show the path I will take for the mission.) Storms lingered in B2 so I spent a couple of action points to make it through the front. (Searching not allowed due to storm) After breaking through, I made it over the target area. (Picture 2 shows the situation, while Picture 3 shows the action track.) It was bright and sunny and to my amazement the Japanese put up no resistance. (Picture 4) I quickly spotted the target and dropped my 1,000 pounder, scoring another area hit! I moved to B1, and even though it was nice and clear, I conducted no search (searching is always optional. However if you do search and make contact with a Japanese unit, you must attack it at least once). (Picture 5) I finally arrived over Piva and found it cloudy with a little rain mixed in. No worries though, I was able to make a safe landing. (Picture 6) So after two missions, the score is US Player 2, Japanese 0. Five more days to go! (Picture 7) |
Rules To determine weather I drew a card with a storm icon. I rolled 2d6 and rolled an eleven. This makes the weather storming over Piva. (An 11 or 12 makes it a storm. Storm markers are then placed in the zones directly connected to Piva as well as Piva itself. If 11 or 12 is not rolled it makes the weather sunny and clear). At this point the player has the option to abort the mission (Japanese get a point) or continue to fly – I chose to fly. Since the next space was also storming, I decided to spend 2 action points to get through the front. I could have rolled on Table 1-1 or aborted the mission and head back to Piva. As in the last mission I move my Corsair to the one space on the target track. There was no Japanese resistance so I immediately move to space 2 of the target track to hit my target. When I dropped my bomb I also fired my machine guns. This gives me a +1 on the attack table dice roll. I still use the 1000 pound bomb column and add the modifier to the dice roll under that column. |
Back to the Forgotten Sideshow Page


